Entering Payments (Part 1)
Use the Customer Assistant!
In the beginning you might want to use the Customer Assistant to guide you are the programs features. The Customer Assistant is activated by pressing the Spacebar from the Customer page.
Inserting a Payment
Office
Express allows you to enter customer payments
and complete misc. jobs for customers in three different areas of the
program.
From the Home Page you click the Transaction button in the
Express Customer Updates area.
2. From the Customer Page, choose the Transaction View and
press the Insert key.
3. Use the Express Transaction Inserts feature located on
the Home Page.
The first two require that you go customer-to-customer
adding items. The third option allows you to add a batch of payments and other
transactions all at once. The Express Transaction Inserts option is ideal if you
have more than a handful of items to enter.
This section will only concentrate on the first two
options.
Adding a Payment and Misc Completed Job from the Customers Page…
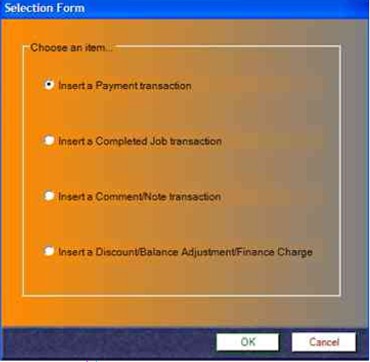
View the Customers Page and move to the customer you want to add a transaction to. Click the Transaction View option to the left of the window or press F8, the keyboard shortcut. Press the Insert key and a dialog box like the one below will be displayed.
Adding a Payment and Misc Completed Job from the Office Express Home
Page…
Go to the Express
Customer Updates area on the Home Page, under the
Inserts label click the Transaction button. The Transaction Insert Dialog box will be displayed like the one to the left.
Select the type of
transaction you would like to enter and click OK.
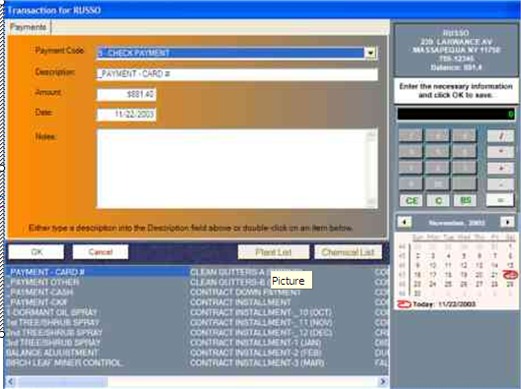
If you chose to enter a Payment a dialog like the one to
the right should be displayed.
Entering a payment is easy.
Simply, enter the Description, Check #, Amount and Payment
code.
Click the OK button and you're done!
Home | Table of Contents | Office Express Basics | Entering Payments (Part 2)